Wednesday, October 31, 2018

MFT Wednesday Sketch Challenge #409


It's Wednesday, time for a new My Favorite Things Wednesday Sketch Challenge!
Here's Sketch #409.


And here's my take on the sketch.


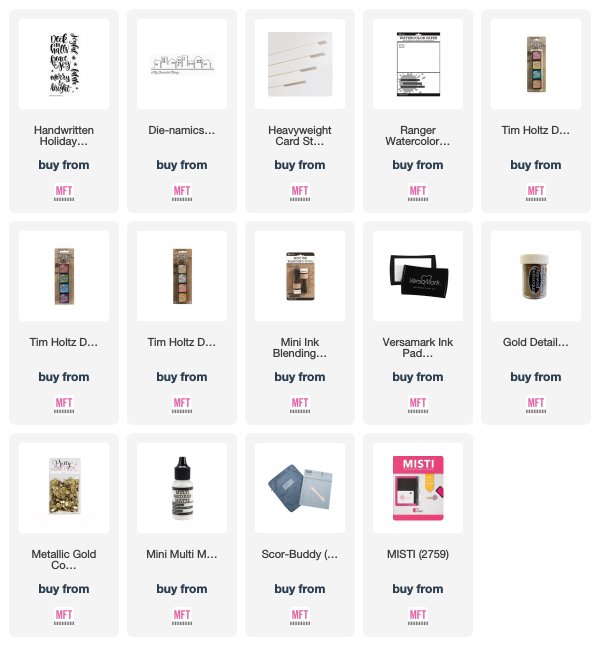
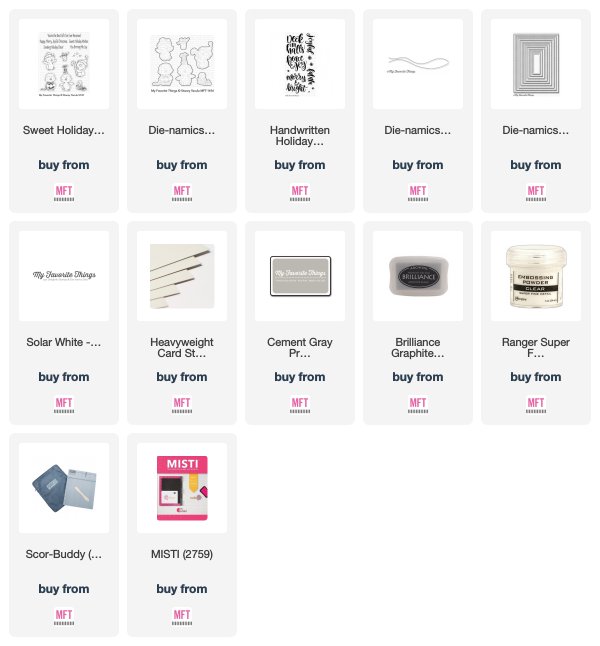
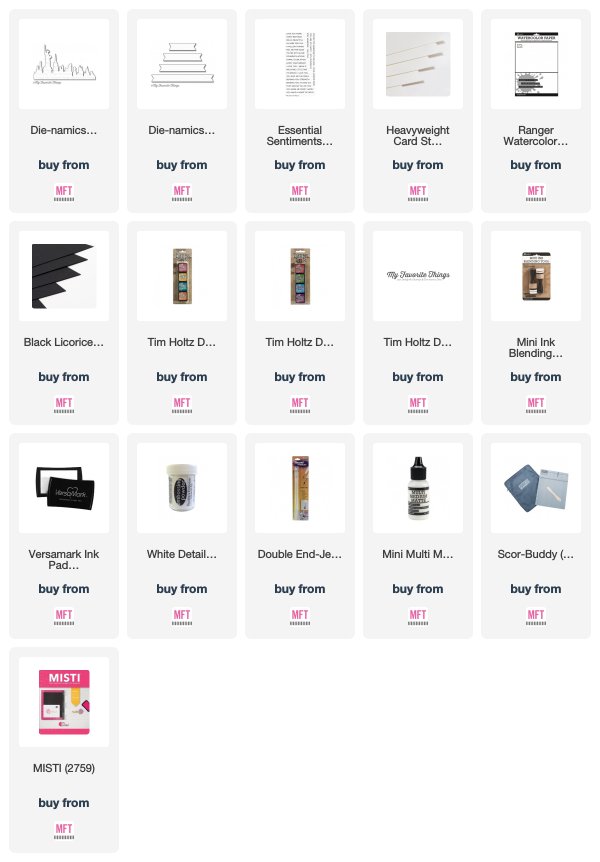
I die cut the New York Skyline and trimmed off Miss Liberty. The piece was
ink distressed and spattered with water, then adhered to a white card base.
The sentiment was white embossed and cut with the fishtail banner then
popped up on the card. Sequins finished off the card.


Visit the Card Challenges blog for all the details on how you can be the random
winner of a $50 MFT gift voucher when you join the challenge!

Tuesday, October 30, 2018

Hits & Highlights--Merry and Bright


With the Christmas season quickly approaching, the Creative Team was challenged 
to feature products that include “merry” in its name or to add some brightness to
 our projects. We hope you'll be inspired to add some to yours, too!

Here's my take on the challenge.


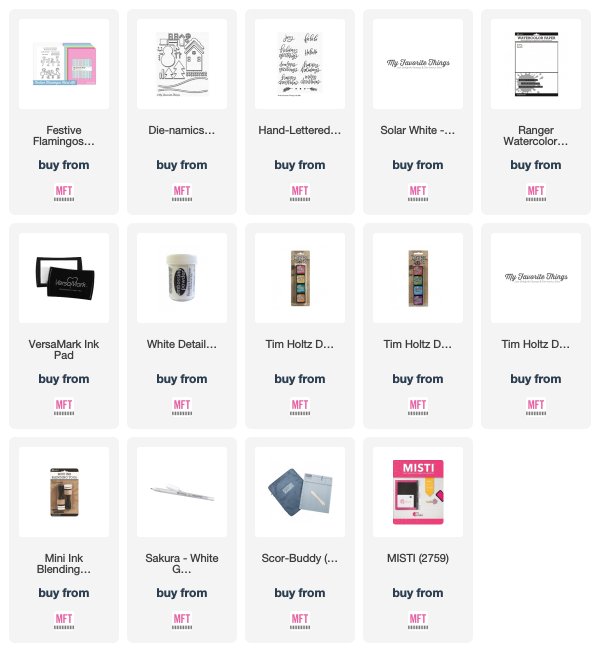
I ink distressed a panel with several Distress inks then spattered water over
the surface. The bold sentiment was gold embossed over it and the panel was
trimmed and adhered to a top folding white card base.


Our Town was die cut from white card stock and I gold embossed the roofs by
tapping a Versamark pad over the roofs and heat embossing gold powder. The row
of houses was popped up on the card and finished off with gold confetti.

Visit today's Hits & Highlights post at My Favorite Things to see how participating 
team members took on the Merry and Bright Challenge!


Saturday, October 27, 2018

Sweet Holiday Penguins Shadow Box


Did you grab Stacey Yacula's Sweet Holiday Penguins set? I'm still over-the-moon excited
that she'll be designing for MFT and I couldn't stop coloring her inaugural set of penguins.

While surfing through MFTv on YouTube, I saw Steph's video on making a shadow box
card from a Release Class project by Torico. Now I'm not a "paper engineer" type of card
maker, but I had to give it a shot. Torico shared a great pictorial in the Release Class pdf,
but I'm such a visual learner that I decided to follow Steph.


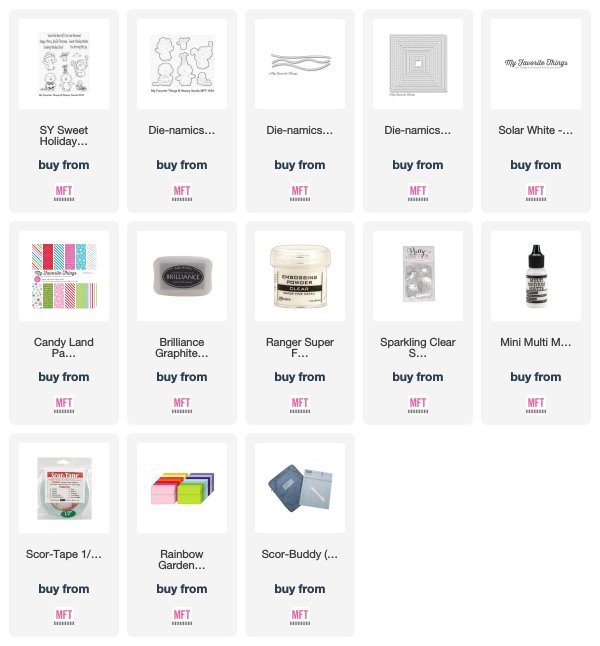
I LOVE how this turned out! I used a piece of the new Candy Land paper for the snowy
 background. The penguins were clear embossed and colored with Zig markers and a
water brush, then cut with the matching Die-namics.


I followed Steph's video--pausing at each step--and constructed the shadow box. I modified
it to add just one step instead of two, and Snow Drifts in the back. The sentiment was stamped
on the background before the box was closed, and finished off with Sparkling Clear snowflakes.


The best part about this shadow box card? It can be folded flat and sent through the mail. It
fits into an A2 sized envelope but you may need to add extra postage because of the thickness.
But it's so worth it--any recipient would love to receive a shadow box card. Especially one
with cute penguins on it!

Visit MFTv on You Tube for more great instructional videos using MFT products.
Thanks for stopping by today!


Thursday, October 25, 2018

CAS(E) this Sketch #295


Ready for a new CAS(E) this Sketch? Chrissy brings us Sketch #295.


And here's my take on it--I saw a birthday present!


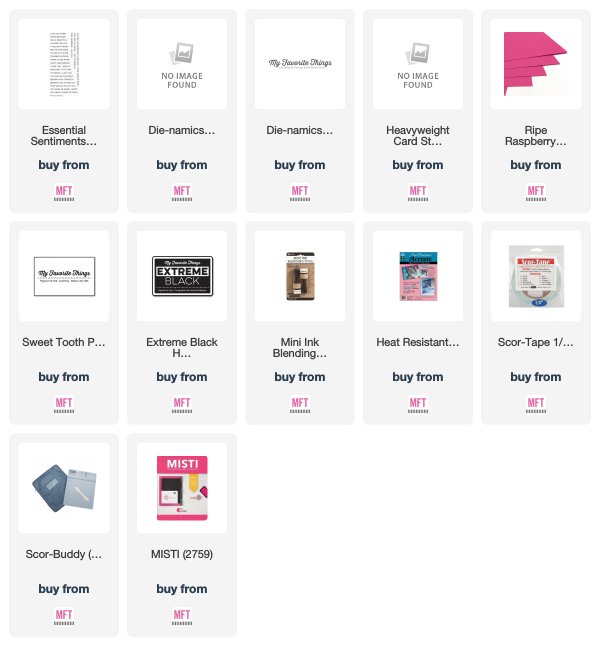
I used a Dot Cover Up and cut out a stencil from a sheet of acetate. A faded
background was stenciled on pink card stock with white pigment ink.
A bow was assembled from pink card stock and adhered to the card
together with three strips. A stamped sentiment finished off the card.

Visit CAS(E) this Sketch to see how the rest of the team interpreted Chrissy's
sketch and join us if you can. Link up your card(s) by Thursday, Nov 1st
and as the weekly winner, you'll be invited to join us on a future sketch!


Tuesday, October 23, 2018

MFT Festive Flamingos Card Kit Release


It's time! You may now purchase the Festive Flamingos Card Kit  in the MFT Store!
I have one more project to share with you using this fun and festive kit.


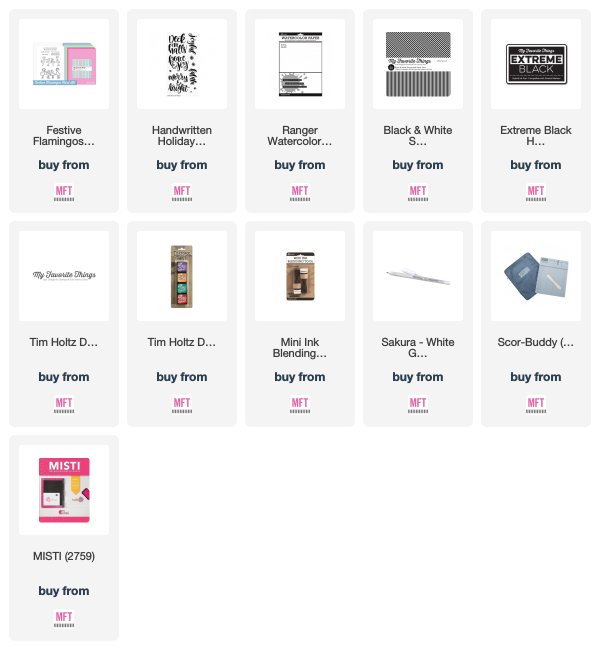
Two flamingos were stamped, colored with Copics, then cut with the matching
Die-namics. I added details to the scarf with a white Gelly Roll pen, and enhanced
their eyes with a black pen. The background was ink distressed with green Distress
inks on watercolor card stock.

The panel was trimmed and adhered to a white card base. I adhered the flamingos
and grounded them with a strip of striped patterned paper. I stmaped the sentiment
and a few twinkle stars around them. I finished off the card by coloring in the spaces
between their legs and antlers with Copic markers.

And don't forget to add Stacey Yacula's Sweet Holiday Penguins to your cart.
These cute critters need a good home!


Visit all participating Team members' blogs and leave a comment for a chance to
win prizes. Thanks for stopping by during the Countdown and happy shopping!


Monday, October 22, 2018

MFT Stacey Yacula Sweet Holiday Penguins


Fans of artist Stacey Yacula will be thrilled to see her images designed exclusively
for My Favorite Things! This month we're kicking off the release of Sweet Holiday 
Penguins--an adorable set of fun loving penguins that come with matching Die-namics
sold separately.

If you've never heard of Stacey Yacula, I'm sure you'll be won over by her artwork.


I created a wintry scene using Snow Drifts Die-namics on Grout Gray card stock.
The three penguins were embossed and colored with Zig markers and a water
brush. I cut them out with the matching Die-namics, then placed them on or
around the snowy banks. The sentiment and stars were stamped with gray ink,
and I added dots with a warm gray Copic marker.


Get ready to purchase this adorable set, and the Festive Flamingos Card Kit 
tomorrow, October 23rd, at 10AM EST in the MFT Store!


Sunday, October 21, 2018

MFT Festive Flamingos Card Kit--Day 1


Are you ready to meet My Favorite Things newest Card Kit? Festive Flamingos will
go on sale Tuesday, October 23rd at 10AM EST. Here's a peek at the kit. For a detailed
description of the kit, visit today's Card Kit post at My Favorite Things.


How cute are those flamingos? I stamped and colored them with Copics, then
cut them with the matching Die-namics. The background was ink distressed with
several colors of Distress inks, then spattered with water for a snowy effect.

I enhanced their eyes with a black pen and jazzed up the scarf with a white pigment
pen. I white embossed the sentiment and added the die cut trees on the bottom and
popped up the flamingos over them. 

Visit today's post for more Card Kit inspiration from the Creative Team and leave a
comment there to win a $25 prize! Then get ready to purchase the Festive
Flamingos Card Kit on Tuesday!


Thursday, October 18, 2018

CAS(E) this Sketch #294


CAS(E) this Sketch #294 is a retro one from Chrissy.


Here's my take on it back in 2015.


And here's my updated 2018 take.


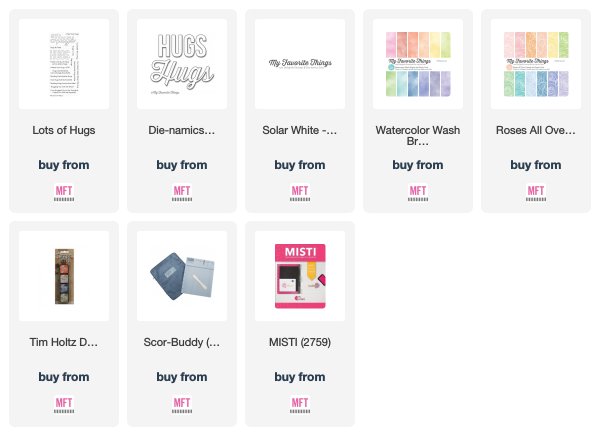
Two pieces of patterned papers were adhered to a white card base. The first
part of the sentiment was stamped in Peeled Paint Distress ink and the HUGS was
adhered beneath it. I added some shading in the flowers with a YG01 Copic marker
for dimension.

Visit CAS(E) this Sketch to see how the rest of the team interpreted the sketch and
join us if you can. Link up your card(s) by Thursday, Oct 25th and as the weekly
winner, you'll be invited to guest with us on a future sketch!


Wednesday, October 17, 2018

MFT Wednesday Sketch Challenge #407


And here's my take on it.


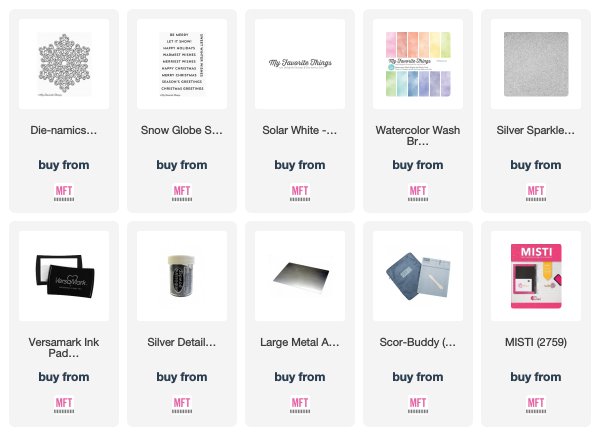
Mesmerizing Mandala was cut from silver glitter card stock. A strip of pink
Watercolor Wash paper was adhered to a white card base. The mandala was
adhered over it and the card was finished off with the silver embossed sentiment.


Do you want a chance to win a $50 MFT gift voucher? Sure you do! Visit the
Card Challenges blog for all the details on how you can be the next random winner
and we hope to see you in the gallery!


Tuesday, October 16, 2018

MFT & Friends--October 2018 Release


It's time for this month's MFT & Friends when the Creative Team
(and friends!) share fresh ideas and more inspiration with the October Release.

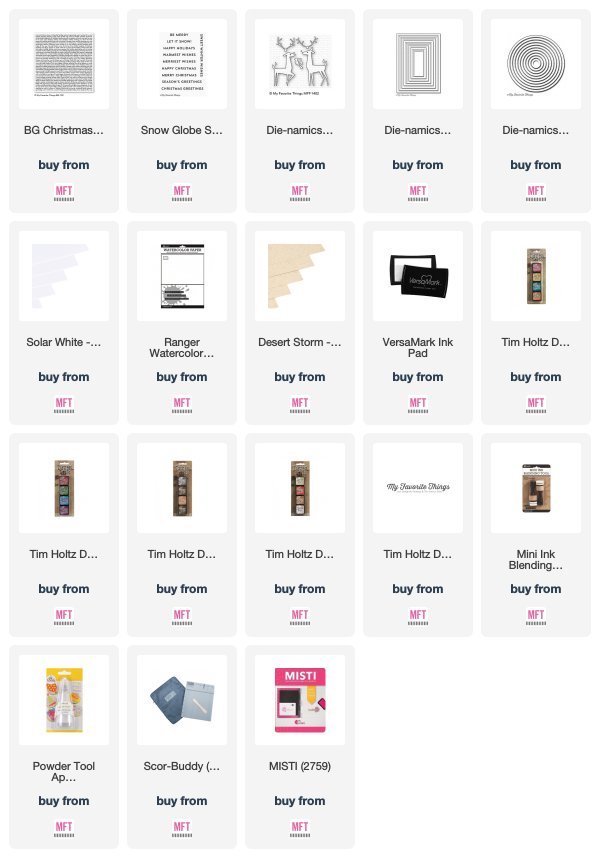
Here's my card using the Christmas Background stamp as patterned paper for
a "paper pieced" look.


I began by white embossing the background stamp three times on white card stock.
The first panel was ink distressed with blue and green inks to resemble ground and
sky. The next piece was inked with yellow and orange ink, and the third piece was
inked in browns.


The blue and green distressed panel was trimmed and adhered to a kraft card base,
the yellow was cut with a circle die, and the brown was used for the deer. The circle was
adhered to the card base and the deer were popped up over the circle, making sure to
line up all of the sentiments running horizontally as best as I could.


I thought about leaving the card without a sentiment because of the busy 
background. But at the last minute, I decided to white emboss "Season' Greetings" 
and ink distressed with green inks then added it to the bottom of the card.

This almost has a camouflage look to it and I'll have to admit that it made my
eyes a little wonky but I ended up liking how it turned out. It combines one of my 
favorite techniques--ink distressing--with a favorite Die-namics from the Release.

Visit today's MFT & Friends post for more inspiration from team members 
and friends, using the October release!