Showing posts with label Card Kit. Show all posts

Tuesday, October 22, 2019

MFT Snow Globe Greetings Card Kit Release Day


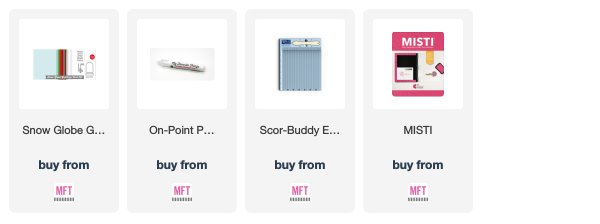
It's time! MFT's Snow Globe Greetings Card Kit is waiting for you in the MFT Store!
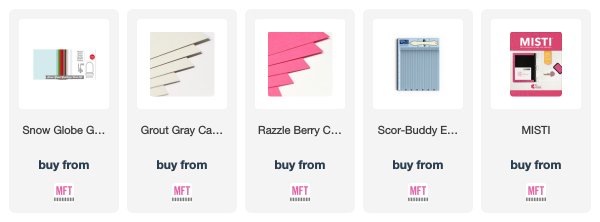
Here's my last Card Kit project, using most of the contents of the kit. I'm calling this
card "Mistletoe Under Glass" 😉


Instead of hanging the mistletoe, I trimmed the stem and adhered it to a
Grout Gray card base. I die cut the dome from a white card base and embossed
the sentiment with platinum embossing powder.


The clear dome pouch was assembled over the mistletoe as if it were a
botanical specimen in a glass dome--just another way to feature the mistletoe.

And don't forget that the mid-month "free with $60" die is a gorgeous 
 Believe Die-namics.


I ink distressed a watercolor panel and sprayed some water on the bottom.
"Believe" was die cut twice from white card stock and once from silver glitter
card stock and layered together to form a thick piece. I adhered it on the
inked panel and stamped the second part of the sentiment under it then
finished off the card with the silver star.

Off you go to shop! We hope you enjoy MFT's newest card kit and be sure to
comment on participating members' blogs by Thursday, October 24th for a
chance to win a $50 MFT gift voucher! Happy shopping!


Second card
Monday, October 21, 2019

More Snow Globe Greetings Inspiration


Are you ready for more Snow Globe Greetings Card Kit inspiration? 
For today's project, I'm using products that were recently released together 
with the kit.

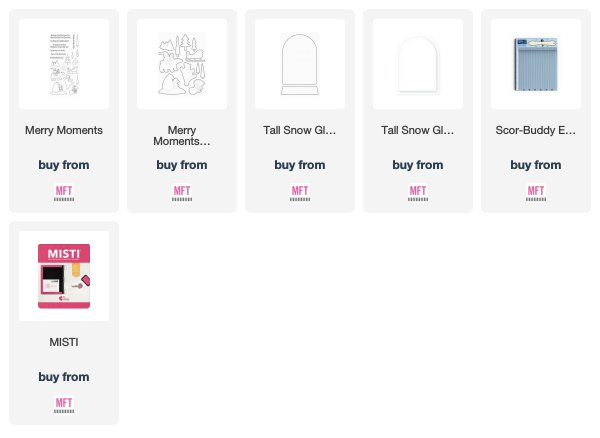
I thought the bear in the Merry Moments set would be a perfect fit inside the
Tall Snow Globe for a quick shaker card.


The polar bear was stamped, colored with Copics, then cut with the matching
Die-namics. A background was inked in sunset colors and spattered with white
paint and set aside to dry. A snowy ground was torn from white card stock
and inked on the edges with a pale blue Copic marker.


I adhered a few snowflake sequins on the sky, and added some inside together
with some sequins before assembling the shaker. Oh, and I did stamp the sentiment
before assembling the shaker--so glad I remembered to do that!

Visit today's Card Kit post for more ideas and inspiration and leave a comment
there for a chance to win a $25 prize! Get ready to buy the Snow Globe Greetings
Card Kit tomorrow, Oct 22nd at 10AM EST in the MFT Store!


Sunday, October 20, 2019

Meet MFT's October Card Kit--Snow Globe Greetings


MFT's October Card Kit is Snow Globe Greetings. This fun and festive kit will go on sale
 Tuesday, October 22nd at 10AM EST in the MFT Store. Here's a quick peek at the kit.


For a more detailed description of the kit's contents, visit today's Card Kit post
at My Favorite Things. You'll be able to purchase contents of the kit separately,
but there's value and savings when you purchase the entire kit.


For today's project, I used the Tall Snow Globe Die-namics as a portal for the
hanging mistletoe. The mistletoe was cut from green card stock and inked
for a bit of dimension. I added the berries and the little bow and adhered it to
a Grout Gray card base. The sentiment was platinum embossed and the panel
was popped up over the mistletoe.


Head over to today's countdown post for more Card Kit inspiration and leave a
comment there for a chance to win a $25 prize. Thanks for stopping by today!


Tuesday, September 17, 2019

MFT Starry Night Card Kit Release Day


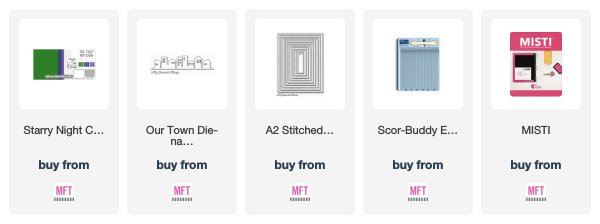
It's time! You may now purchase MFT's Starry Night Card Kit in the MFT Store!
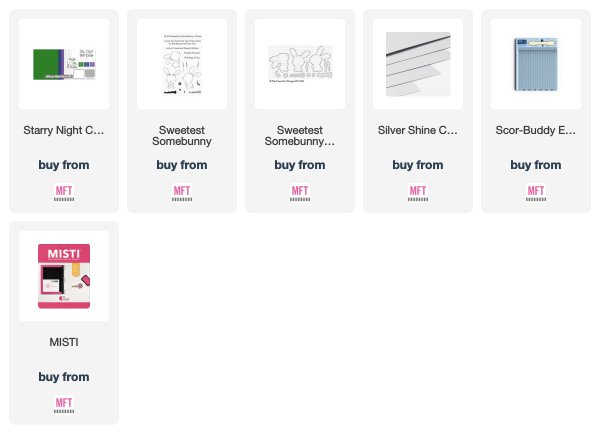
I have one more project to share with you using products in the kit together 
with products you may already have. 

(Note: All products in the kit are shown in boldface type.)


I painted a panel of watercolor card stock with the Color Burst powder that was
diluted with water and I love how it turned out! When the panel was dried, I
cut it with the Starry Night Vertical Die-namics and adhered it to a card base.


When I saw the sentiment, I looked for a critter that appeared to be wishing
upon a star and found Sweetest Somebunny. I stamped her and colored her
with Copic markers, then cut her with the matching Die-namics.

The two part sentiment was gold embossed and I popped up the bunny and
added a shiny silver star. I grounded her with some Copics and rounded off
the corners to complete the card.

Off you go to grab your Card Kit! Make sure you visit all participating
Creative Team members' blogs and leave a comment for a chance to be the
random winner of a $50 MFT gift voucher. Good luck and happy shopping!


Monday, September 16, 2019

More Starry Night Card Kit Inspiration


Are you ready for more project ideas using MFT's Starry Night Card Kit?
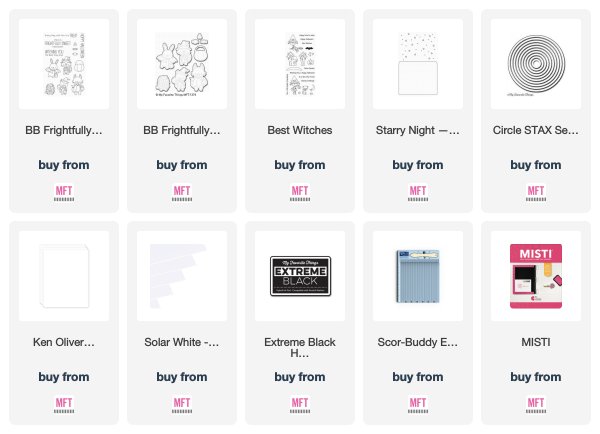
Today I'm sharing a card using products from the kit together with other products
that you may already own.


I smooshed some Chipped Sapphire Distress inks onto a craft mat, sprayed it with
water, then lay down watercolor card stock. When it was dried, I added more color
with an ink blending tool to give dimension to the sky.

I diecut the Starry Night Vertical Die-namics and adhered it to a white card base.
The little trick-or-treater was popped up on the card, and the sentiment was
stamped beside her.


I stamped a few bats in the sky and decided to finish off the card with a
big, bright moon.
Don't forget to visit the MFT blog for even more inspiration from participating
team members and leave a comment there for a chance to win a $25 prize!
Hope you'll stop by tomorrow for Card Kit Release Day!


Sunday, September 15, 2019

MFT Starry Night Card Kit--Day 1


Meet MFT's newest Card Kit--Starry Night--which goes on sale Tuesday,
September 17th at 10AM EST in the MFT Store.

Here's a peek at the Starry Night Card Kit. Visit the MFT blog for a detailed description
of the kit's contents. Note that all supplies used that are part of the kit are designated
in boldface type.


Do you spy more Ken Oliver Color Burst powders? There are three bottles in 
the kit with colors that coordinate with MFT's card stock colors--how cool is that?

For today's project, I used the powders as watercolor and mixed a small amount
with some water to "paint" it on watercolor card stock.


Before painting, I gold embossed the sentiment, which acts as a resist when
the panel was painted. I spattered some water and let the panel dry,


Our Town Die-namics was adhered to the panel, then small stars from the
Starry Night Vertical Die-namics were cut from glitter card stock and
adhered to the card.

Visit the MFT blog for more ideas and inspiration using the Card Kit and leave
a comment there for a chance to win a $25 prize! Please stop by tomorrow
for more ideas using this awesome kit!


Tuesday, August 20, 2019

MFT Say It in Starburst Card Kit Release


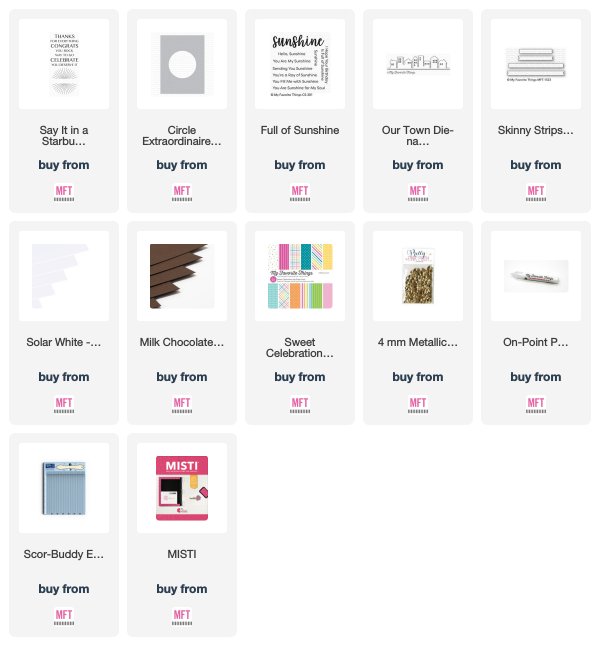
It's time! MFT's Say It in a Starburst Card Kit is now on sale in the MFT Store!

I have one more project to share with you to show you the versatility of the kit
by turning the Starburst into a vibrant sun.


I used the Circle Extraordinaire Stencil and inked the circle with Distress inks
onto a white card base, then stamped the Starburst over it in Delicata Gold ink.
Our Town was cut from white card stock and a strip of green striped patterned
paper was adhered over it.


I popped up the houses on the bottom of the card then added the gold embossed
sentiment. Small gold sequins were added to balance out the card.

 For even more inspiration and Card Kit ideas, visit today's post at the MFT blog
and comment on all participating team members' blogs for a chance to win a
$50 MFT gift voucher! Thanks so much for stopping by during the Countdown
and happy shopping!


Monday, August 19, 2019

MFT Say It in a Starburst Card Kit Day 2


Here's more inspiration for you using MFT's Say It in a Starburst Card Kit. This
versatile kit will go on sale tomorrow, August 20th at 10AM EST in the MFT Store!

Today I'm sharing a card using the Starburst Die-namics, Say It in a Starburst Stamp 
Set, and this month's Card Kit "free with $60" Die-namics--Starburst Sentiment Strips.


The radiating rays on the Starburst Die-namics cuts through the card stock but
I wanted them to remain intact so I used a Circle Die-namics to cut out a single piece.
I ink distressed the circle in rainbow order, with heavy pressure, then flicked on
some water.


I chose a sentiment and white embossed it on black card stock and cut it with
the sentiment strip Die-namics. The piece was adhered to a Grout Gray card base,
topped with the sentiment strip and finished off with Sparkling Clear sequins.

Any sentiment in the set would work with the gender neutral design. And you
can't go wrong with rainbows, too.

Visit today's Card Kit post on the MFT blog and leave a comment there for a chance
to win a $25 MFT gift voucher. Be sure to stop by tomorrow for Release Day!


Sunday, August 18, 2019

MFT August 2019 Card Kit--Say It in a Starburst


Are you ready to meet this month's MFT Card Kit?
At first look, Say It in a Starburst has very simple elements, but once you start
"playing" with the kit, you'll see that the design possibilities are ENDLESS!

Here's a look at the kit. Visit today's Card Kit post for a detailed description of
the kit's contents.


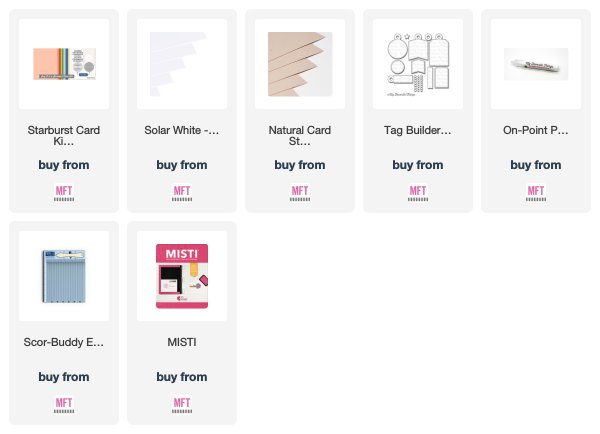
Here's my project with products that I used from the kit shown in bold type.


 I placed the Circle Extraordinaire Stencil on white card stock, then inked it
with several colors of Distress inks in rainbow order. I dried it with a heat gun
before using embossing powder over the surface. I stamped the Starburst
pattern from Say It in a Starburst stamp set with Versamark ink, then
gold embossed it.


I gold embossed the sentiment which fit perfectly in the space. I adhered a few 
stars which were cut from gold glitter card stock, then adhered the panel over
a Natural card base.

Say It in a Starburst Card Kit will go on sale Tuesday, August 20th at 4am.
Visit the MFT blog for more inspiration and Card Kit ideas and don't forget to
leave a comment there for a chance to win a $25 prize!