Thursday, October 31, 2019

CAS(E) this Sketch #346


CAS(E) this Sketch #346 is a new sketch from me and it looks like this.


Here's my take on it.


I stamped and colored the elf, then trimmed around the border to form a
Polaroid. A green strip of card stock was adhered to a card base and the Polaroid
was popped up over it.

Visit CAS(E) this Sketch to see how the rest of the team interpreted the sketch
and join us if you can. Link up your card(s) by Thursday, Nov 7th and as the
weekly winner you'll be invited to guest with us on a future sketch.


Wednesday, October 30, 2019

MFT Wednesday Sketch Challenge #461


And here's how I interpreted the sketch.


Two mugs of cocoa were substituted for the circle elements then finished
off with the white embossed sentiment.


Visit the MFT blog for all the details on how you can be the random winner of
a $50 MFT gift voucher when you enter the challenge. We hope to see you
in the gallery!


Monday, October 28, 2019

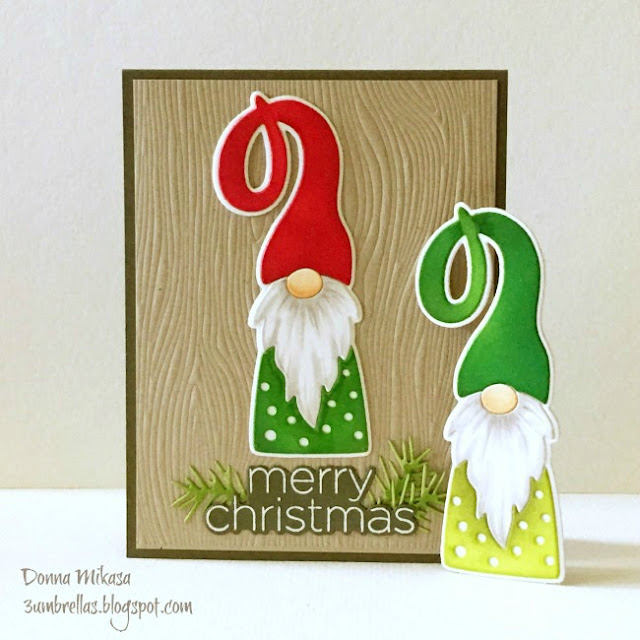
Merry Christmas Gnome


When I saw Simon Says Stamp's new Gnome die, I just had to get it. He was 
on "reserve" until the end of the month and I really didn't mind waiting. But I was 
so happy (I may have squealed) that I didn't have to wait till then, because he
just arrived in my mailbox a few days ago. Yay!


A kraft panel was embossed with a woodgrain pattern and adhered to an olive
card base. The Gnome pieces were cut from white card stock and inked with 
Distress inks. His beard was "feathered" with Copic markers, then I assembled 
him on the shaped background piece. I just loved seeing him "come to life."


I adhered him to the woodgrain panel and added the white embossed sentiment
and some greenery finished off the card.

It was so much fun constructing the gnome--almost like playing with paper dolls.
I turned him into a Christmas gnome, but he's versatile enough to be used for
any occasion just by changing up the outfit colors.


I'm hoping that by Simon Says Stamp's Die-cember, there will be even more
gnomes, maybe in different shapes and sizes. I'll be wishin' and hopin' til' then.

Thursday, October 24, 2019

CAS(E) this Sketch #345


Here's CAS(E) this Sketch #345, compliments of teammie Brian.


And here's what I came up with.



The Quad Love die was cut three times from watercolor card stock and inked
in ombré pinks and reds. They were stacked and adhered together to form a
thick, chipboard piece.

The Shiplap stamp was inked with kraft ink and stamped on a primitive white
panel, then adhered to a kraft card base. I adhered the sentiment piece and
stamped the second part of the sentiment below it.

Visit CAS(E) this Sketch to see how the rest of the team interpreted the sketch
and join us if you can. Link up your card(s) by Thursday, Oct 31st.
We hope to see you in the gallery!

Supplies:

Wednesday, October 23, 2019

MFT Wed Sketch Challlenge #460


Here's this week's MFT Wednesday Sketch Challenge #460--a clean and simple one.


And here's my take on it.


The little snowman was grounded with a strip of patterned paper. I added
the speech bubble and heart and the card was done. Love a simple sketch!


Visit the MFT blog for all the details on how you can be chosen as the random
winner of a $50 MFT gift voucher when you join us for the challenge!


Tuesday, October 22, 2019

MFT Snow Globe Greetings Card Kit Release Day


It's time! MFT's Snow Globe Greetings Card Kit is waiting for you in the MFT Store!
Here's my last Card Kit project, using most of the contents of the kit. I'm calling this
card "Mistletoe Under Glass" 😉


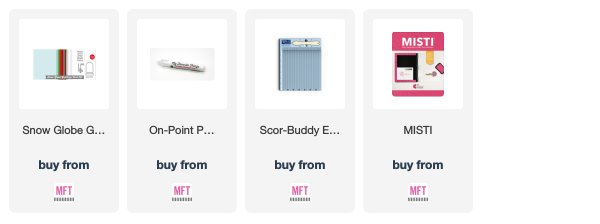
Instead of hanging the mistletoe, I trimmed the stem and adhered it to a
Grout Gray card base. I die cut the dome from a white card base and embossed
the sentiment with platinum embossing powder.


The clear dome pouch was assembled over the mistletoe as if it were a
botanical specimen in a glass dome--just another way to feature the mistletoe.

And don't forget that the mid-month "free with $60" die is a gorgeous 
 Believe Die-namics.


I ink distressed a watercolor panel and sprayed some water on the bottom.
"Believe" was die cut twice from white card stock and once from silver glitter
card stock and layered together to form a thick piece. I adhered it on the
inked panel and stamped the second part of the sentiment under it then
finished off the card with the silver star.

Off you go to shop! We hope you enjoy MFT's newest card kit and be sure to
comment on participating members' blogs by Thursday, October 24th for a
chance to win a $50 MFT gift voucher! Happy shopping!


Second card

Monday, October 21, 2019

More Snow Globe Greetings Inspiration


Are you ready for more Snow Globe Greetings Card Kit inspiration? 
For today's project, I'm using products that were recently released together 
with the kit.

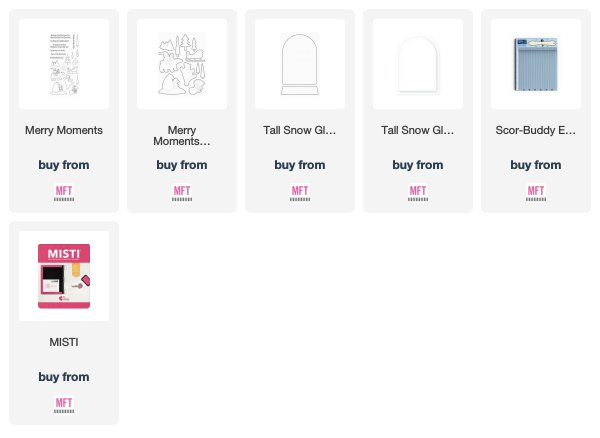
I thought the bear in the Merry Moments set would be a perfect fit inside the
Tall Snow Globe for a quick shaker card.


The polar bear was stamped, colored with Copics, then cut with the matching
Die-namics. A background was inked in sunset colors and spattered with white
paint and set aside to dry. A snowy ground was torn from white card stock
and inked on the edges with a pale blue Copic marker.


I adhered a few snowflake sequins on the sky, and added some inside together
with some sequins before assembling the shaker. Oh, and I did stamp the sentiment
before assembling the shaker--so glad I remembered to do that!

Visit today's Card Kit post for more ideas and inspiration and leave a comment
there for a chance to win a $25 prize! Get ready to buy the Snow Globe Greetings
Card Kit tomorrow, Oct 22nd at 10AM EST in the MFT Store!


Sunday, October 20, 2019

Meet MFT's October Card Kit--Snow Globe Greetings


MFT's October Card Kit is Snow Globe Greetings. This fun and festive kit will go on sale
 Tuesday, October 22nd at 10AM EST in the MFT Store. Here's a quick peek at the kit.


For a more detailed description of the kit's contents, visit today's Card Kit post
at My Favorite Things. You'll be able to purchase contents of the kit separately,
but there's value and savings when you purchase the entire kit.


For today's project, I used the Tall Snow Globe Die-namics as a portal for the
hanging mistletoe. The mistletoe was cut from green card stock and inked
for a bit of dimension. I added the berries and the little bow and adhered it to
a Grout Gray card base. The sentiment was platinum embossed and the panel
was popped up over the mistletoe.


Head over to today's countdown post for more Card Kit inspiration and leave a
comment there for a chance to win a $25 prize. Thanks for stopping by today!


Friday, October 18, 2019

Paper Smooches Oct 2019 DT Inspiration Challenge


https://papersmooches.blogspot.com/2019/09/october-2019-ps-dt-inspiration-challenge.html

I'm squeezing in a little Paper Smooches love and entering this month's challenge.

I love their DT and their different styles but I'm drawn to Michele's cards
with her mutual love of ink distressing. Here's her cards that inspired me
to join this month's challenge.

And here's my card. How pokey cute is this little guy?


I love ink distressing so much that I didn't mind adding in those teeny tiny
thorns and flowers. I also love the Criss Cross die and don't use it enough
so this was the perfect time to do so.


I borrowed the shades, sun, and sentiment from earlier sets and the card
was done. Thanks, Michele, for inspiring me to get inky. Wish I could COLOR
like you do, but for now, ink distressing will have to do.

Thanks for stopping by!

* * *

https://papersmooches.blogspot.com/2019/10/october-2019-ps-dt-inspiration.html

Edited to add: Super proud to be chosen as one of the winners for the October DT
challenge! Congrats to the other winners as well and happy shopping to us!


Supplies:
PS Cacti Dies
PS Sunnyville
PS Sunnyville Icons Dies
PS Sunny Dies
PS Criss Cross Die

Thursday, October 17, 2019

MFT October Birthday Project Challenge--Feeling Sentimental


This month, you're challenged to think outside the box by using only birthday
sentiments on your project. Grab your favorite birthday sentiment stamps and dies, 
text backgrounds and alphabets and craft a birthday card without any images.

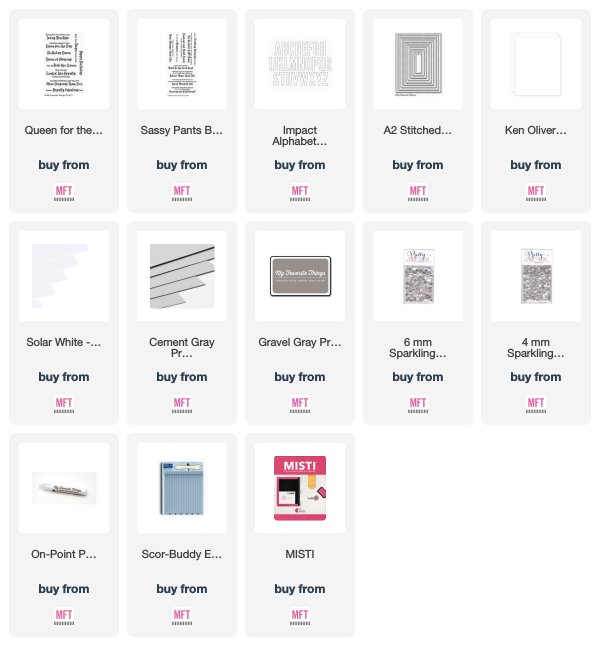
Here's my "sentiments only" card for the challenge using Impact Alphabet
Die-namics that help make a statement on your card.


I diecut YOLO three times from white card stock and adhered them together to
form thick letters. The top layer was cut from watercolor card stock and ink
distressed, then adhered to the respective letters.

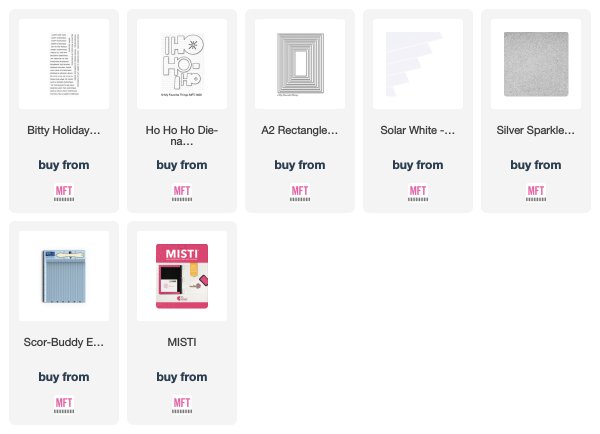
A stitched rectangle panel was cut from white card stock, then adhered to a
Cement Gray card base. After determining where the YOLO would fall on the card,
the top and bottom sentiments were stamped. YOLO was adhered to the card,
then finished off with some sparkling sequins.


Visit the MFT blog for all the details on how you can be the random winner of
a $50 MFT gift voucher when you enter the challenge. Remember to use
ONLY sentiments on your entry. We hope to see you in the gallery!


CAS(E) this Sketch #344


Chrissy brings us this week's CAS(E) this Sketch #344.


And here's my take on it.


A frame was debossed into a kraft card base and topped with an inked bloom
and some leaves. White detail was added to the leaves to mimic the bloom.
A sentiment and sequins finished off the card.

Visit CAS(E) this Sketch to see how the rest of the team interpreted the sketch
and join us if you can. Link up your card(s) by Thursday, October 24th and as
the weekly winner, you'll be invited to guest with us on a future sketch!
Hope to see you in the gallery!


Supplies:
MFT Brilliant Blooms Stamp and Die-namics
MFT A2 Rectangle Frames Die-namics
SSS Clustered Leaves Die
SSS Thanks Frame